
Robert Rosati ~ April 3, 2024
As a drywall contractor, I’ve had my fair share of battles with drywall issues. From unsightly cracks to stubborn holes, dealing with these problems can be frustrating. However, with a bit of research and some elbow grease, most drywall problems can be fixed without having to call in the professionals. In this article, I’ll share some of the most common drywall problems you might encounter and provide simple yet effective solutions to tackle them head-on.
Cracks
Cracks in drywall are perhaps one of the most common issues homeowners face. They can occur due to various reasons such as settling of the house, temperature fluctuations, or simply wear and tear over time. To fix small cracks, start by cleaning the area around the crack with a damp cloth to remove any dust or debris. Next, apply a thin layer of joint compound over the crack using a putty knife, making sure to feather the edges to blend with the surrounding wall. Once dry, sand the area lightly and apply a second coat if necessary. For larger cracks, consider using drywall tape to reinforce the repair before applying the joint compound.
Screw Pops
Screw pops are another common annoyance with drywall, especially in newer homes. They occur when the drywall nails or screws become loose and protrude from the surface, creating a small bump or hole. To fix screw pops, start by gently tapping the popped nail back into place with a hammer. Next, drive a new screw or nail slightly above or below the popped one to secure the drywall in place. Finally, cover the area with joint compound and smooth it out with a putty knife. Sand the area once dry, and you’re good to go.
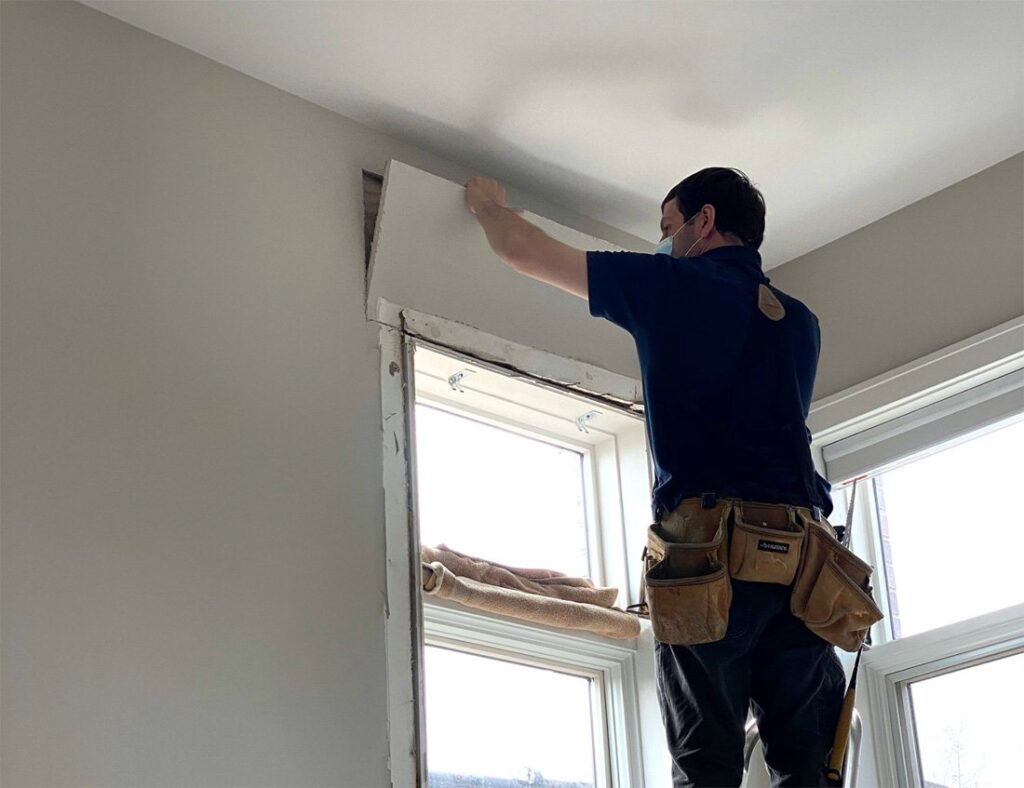
Holes
Whether caused by a doorknob slamming into the wall or an accidental bump from moving furniture, holes in drywall are an eyesore that needs to be addressed. Fortunately, fixing small to medium-sized holes is a relatively straightforward process. Begin by cutting away any loose or damaged drywall around the hole to create a clean, even edge. Next, place a self-adhesive mesh patch over the hole and press it firmly into place. Apply a thin layer of joint compound over the patch, making sure to feather the edges. Once dry, sand the area smooth and apply a second coat if needed. For larger holes, you may need to cut a piece of drywall to fit the opening and secure it in place with drywall screws before patching and finishing.
Water Damage
Water damage can wreak havoc on drywall, leading to stains, mold growth, and even structural issues if left unchecked. If you notice signs of water damage such as discoloration, bubbling, or soft spots on your drywall, it’s essential to address the issue right away. Start by identifying and fixing the source of the water leak to prevent further damage. Once the area is dry, cut away any damaged drywall and replace it with a new piece. Be sure to thoroughly inspect the surrounding area for mold and treat it accordingly before patching and finishing the drywall.
Texture Matching
One of the most challenging aspects of repairing drywall is matching the texture of the existing wall. Whether your walls have a smooth finish or a textured pattern, achieving a seamless blend can be tricky but not impossible. Start by practicing your technique on a spare piece of drywall or scrap board until you feel comfortable replicating the texture. For smooth finishes, apply joint compound with a wide putty knife and feather the edges with a drywall sponge or sandpaper for a seamless transition. For textured walls, experiment with different tools such as brushes, sponges, or texture sprayers to mimic the existing pattern. Remember, patience and practice are key to achieving professional-looking results.
In conclusion, while drywall problems may seem daunting at first, armed with the right knowledge and tools, most issues can be easily remedied with a bit of DIY know-how. By addressing cracks, nail pops, holes, water damage, and mastering texture matching techniques, you can keep your walls looking pristine and avoid the hassle and expense of hiring a professional. So roll up your sleeves, grab your tools, and tackle those drywall problems head-on—you’ve got this! Contact us if you have any quesstions!